





Nobody upgrades to an Xtreme Heavy Duty Axle expecting to think about it again.
The goal is simple. Install a stronger axle, head to the trail, and ride with confidence. But many riders are surprised when they experience vibration, premature wear, torn CV boots, or unexpected driveline problems shortly after installation. In most cases, the axle is not the problem. The installation is.
An XHD Axle is built for machines that demand more. Larger tires, lift kits, aggressive throttle, deep mud, rock crawling, and long-travel suspension all place tremendous stress on the driveline. That is exactly what an Xtreme Heavy Duty Axle is designed for. However, even the strongest axle depends on the rest of the machine being prepared for it.
A successful installation is never about one part.
It is about making sure the entire build is ready to support it.
Many riders install an Xtreme Heavy Duty Axle immediately after adding larger tires or a lift kit.
The upgrade makes sense, but the surrounding components are often forgotten.
The strongest axle cannot compensate for a suspension that is already asking too much.
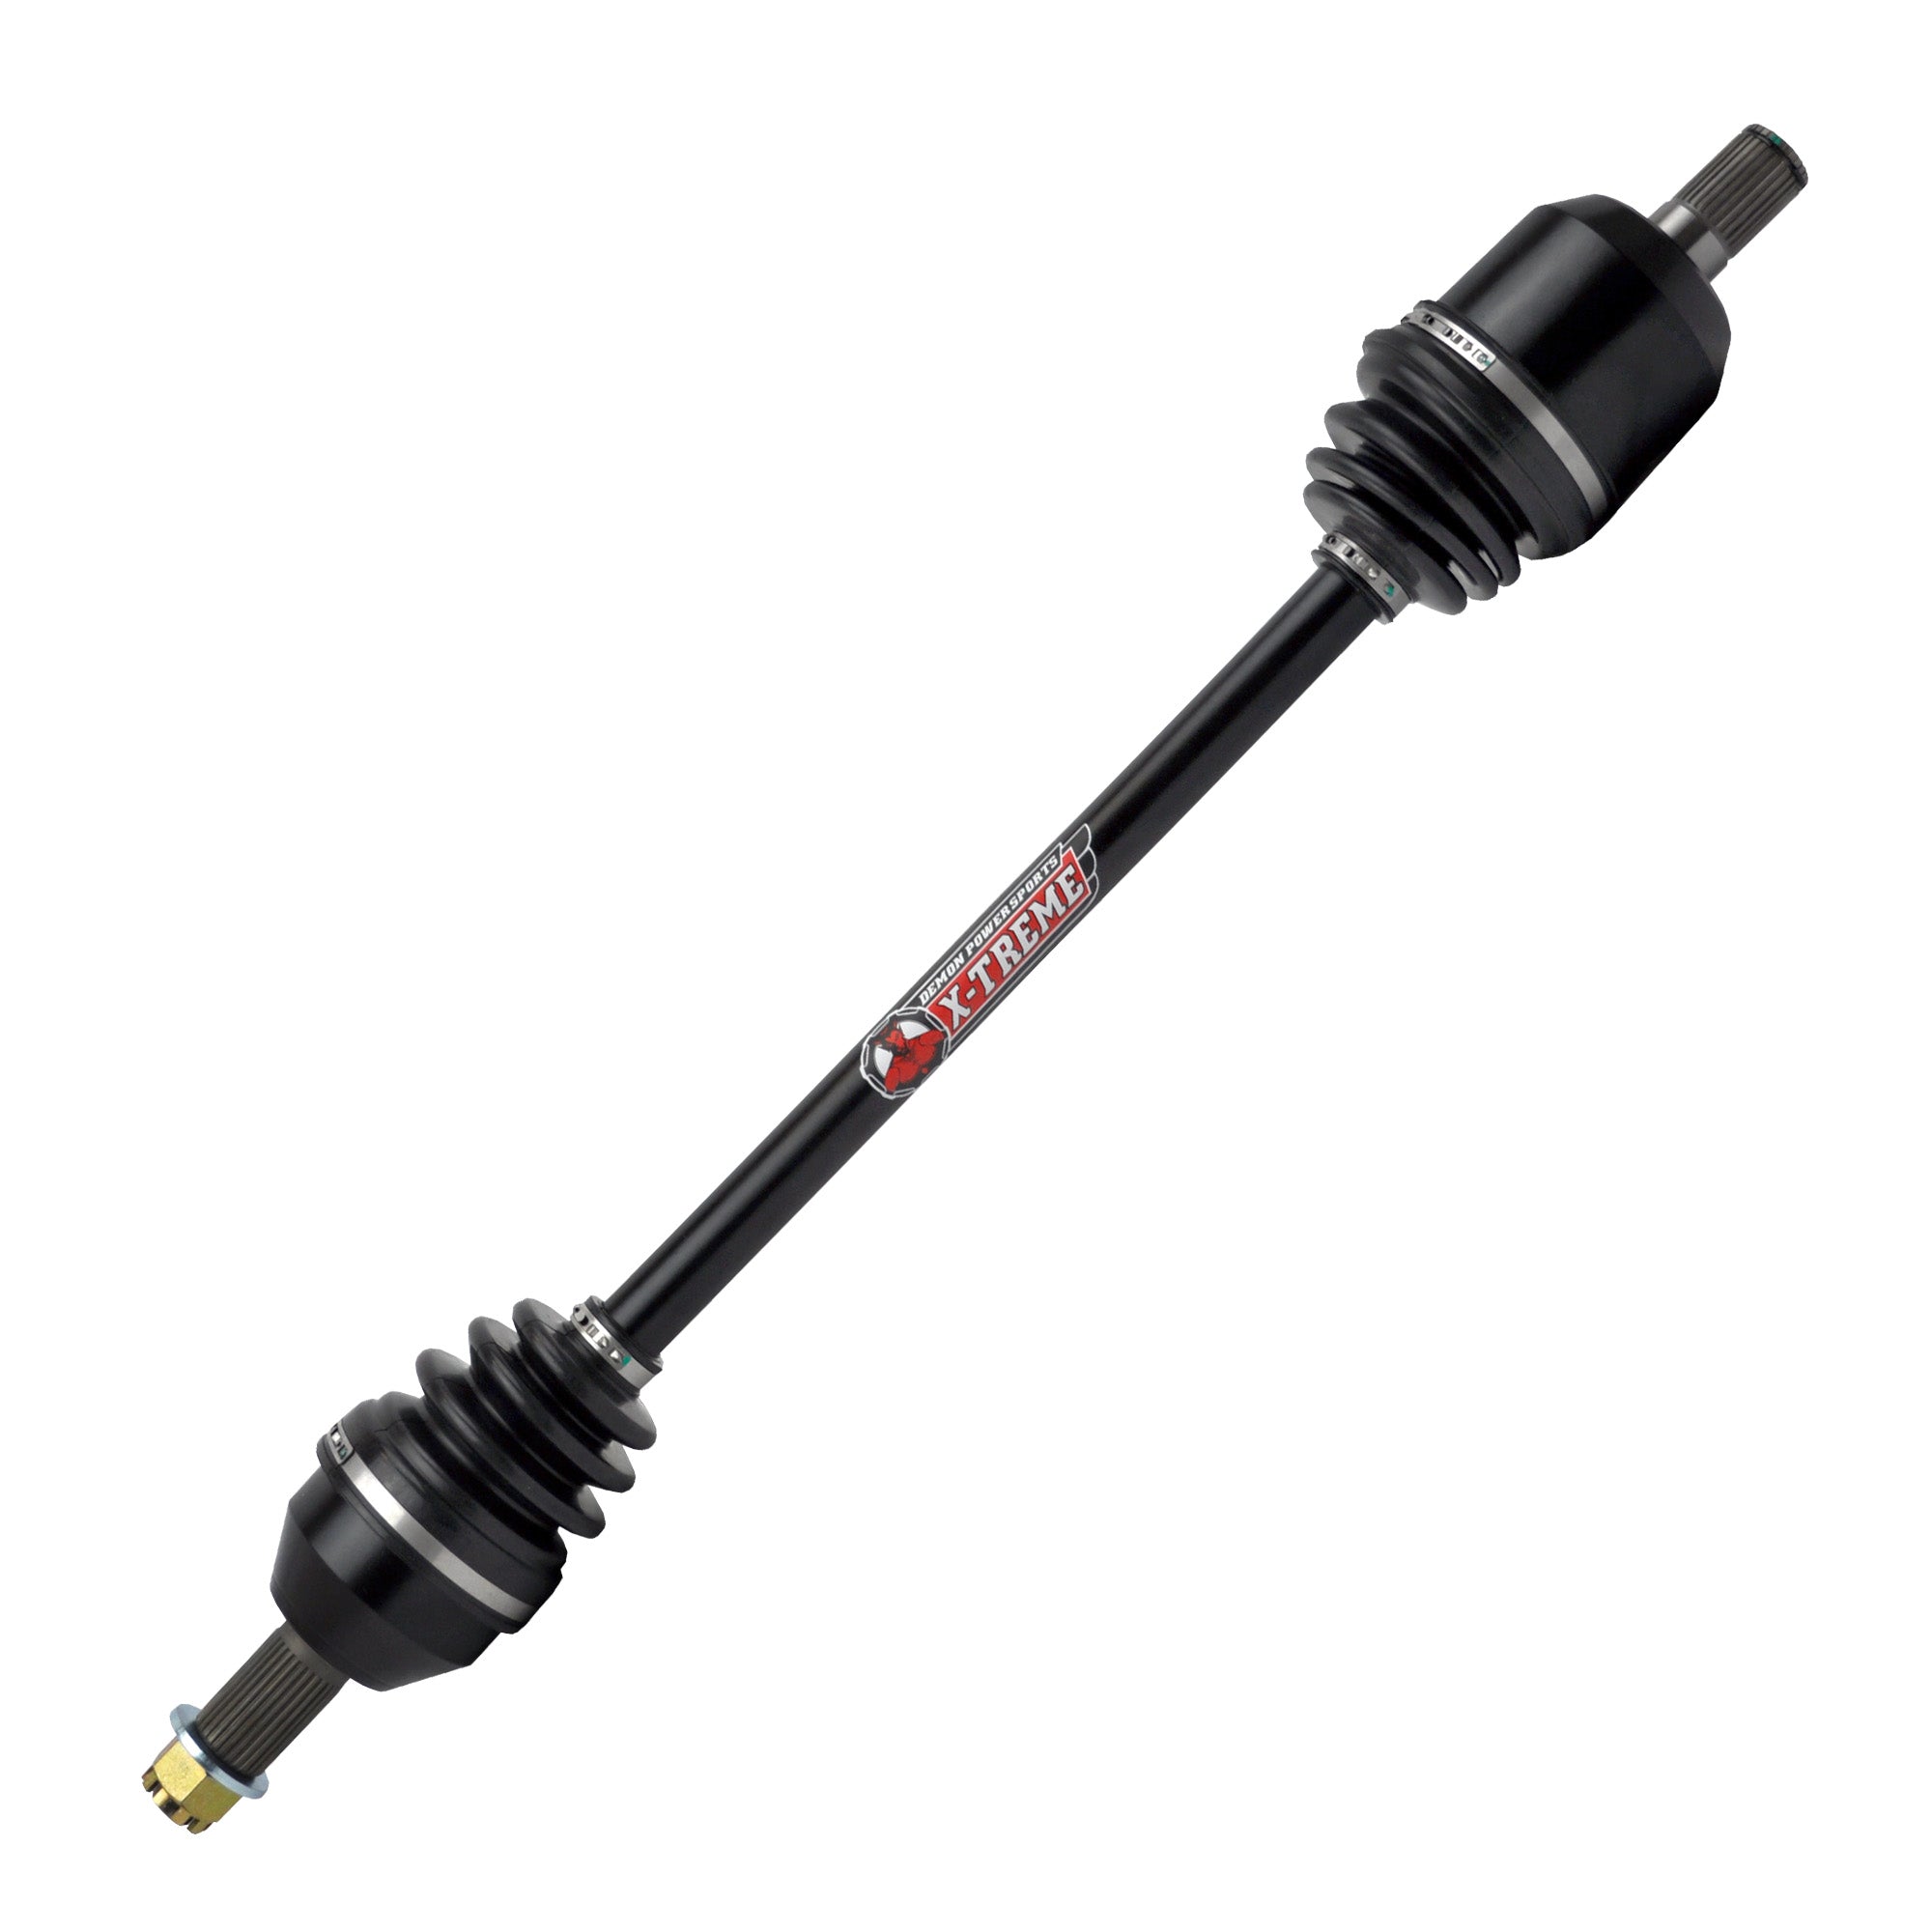
Wheel bearings, differential seals, ball joints, tie rods, and suspension bushings all work together with the axle. If one of those components is already worn, the new axle inherits problems it never created.
Before installing any ATV axle or UTV axle, inspect the entire front or rear suspension. A few extra minutes in the garage can prevent hours of frustration on the trail.
The axle should become part of a healthy suspension system, not the solution to every existing problem.
Lift kits and larger tires change much more than ride height.
They also change the operating angle of the axle throughout the suspension's movement.
Your suspension geometry changes the moment your machine gets taller.
Many riders complete the installation, lower the machine onto the ground, and assume everything is ready. They never check suspension droop, steering lock, or full suspension travel.
An Xtreme Heavy Duty Axle is engineered to handle demanding conditions, but it still performs best when operating within the correct geometry. Excessive operating angles create unnecessary stress on the CV joints, especially during aggressive riding or full suspension compression.
Every suspension upgrade should be followed by a careful inspection of axle movement from full droop to full compression.
The smoother the geometry works, the longer every driveline component will last.
Most riders focus on the strength of the axle shaft.
Very few spend enough time looking at the CV boots during installation.
A damaged boot quietly starts a failure long before the rider notices it.
Twisting a boot, stretching it incorrectly, or allowing sharp tools to contact the rubber creates an entry point for water, mud, and debris. Once contamination reaches the grease inside the CV joint, wear begins accelerating with every mile.
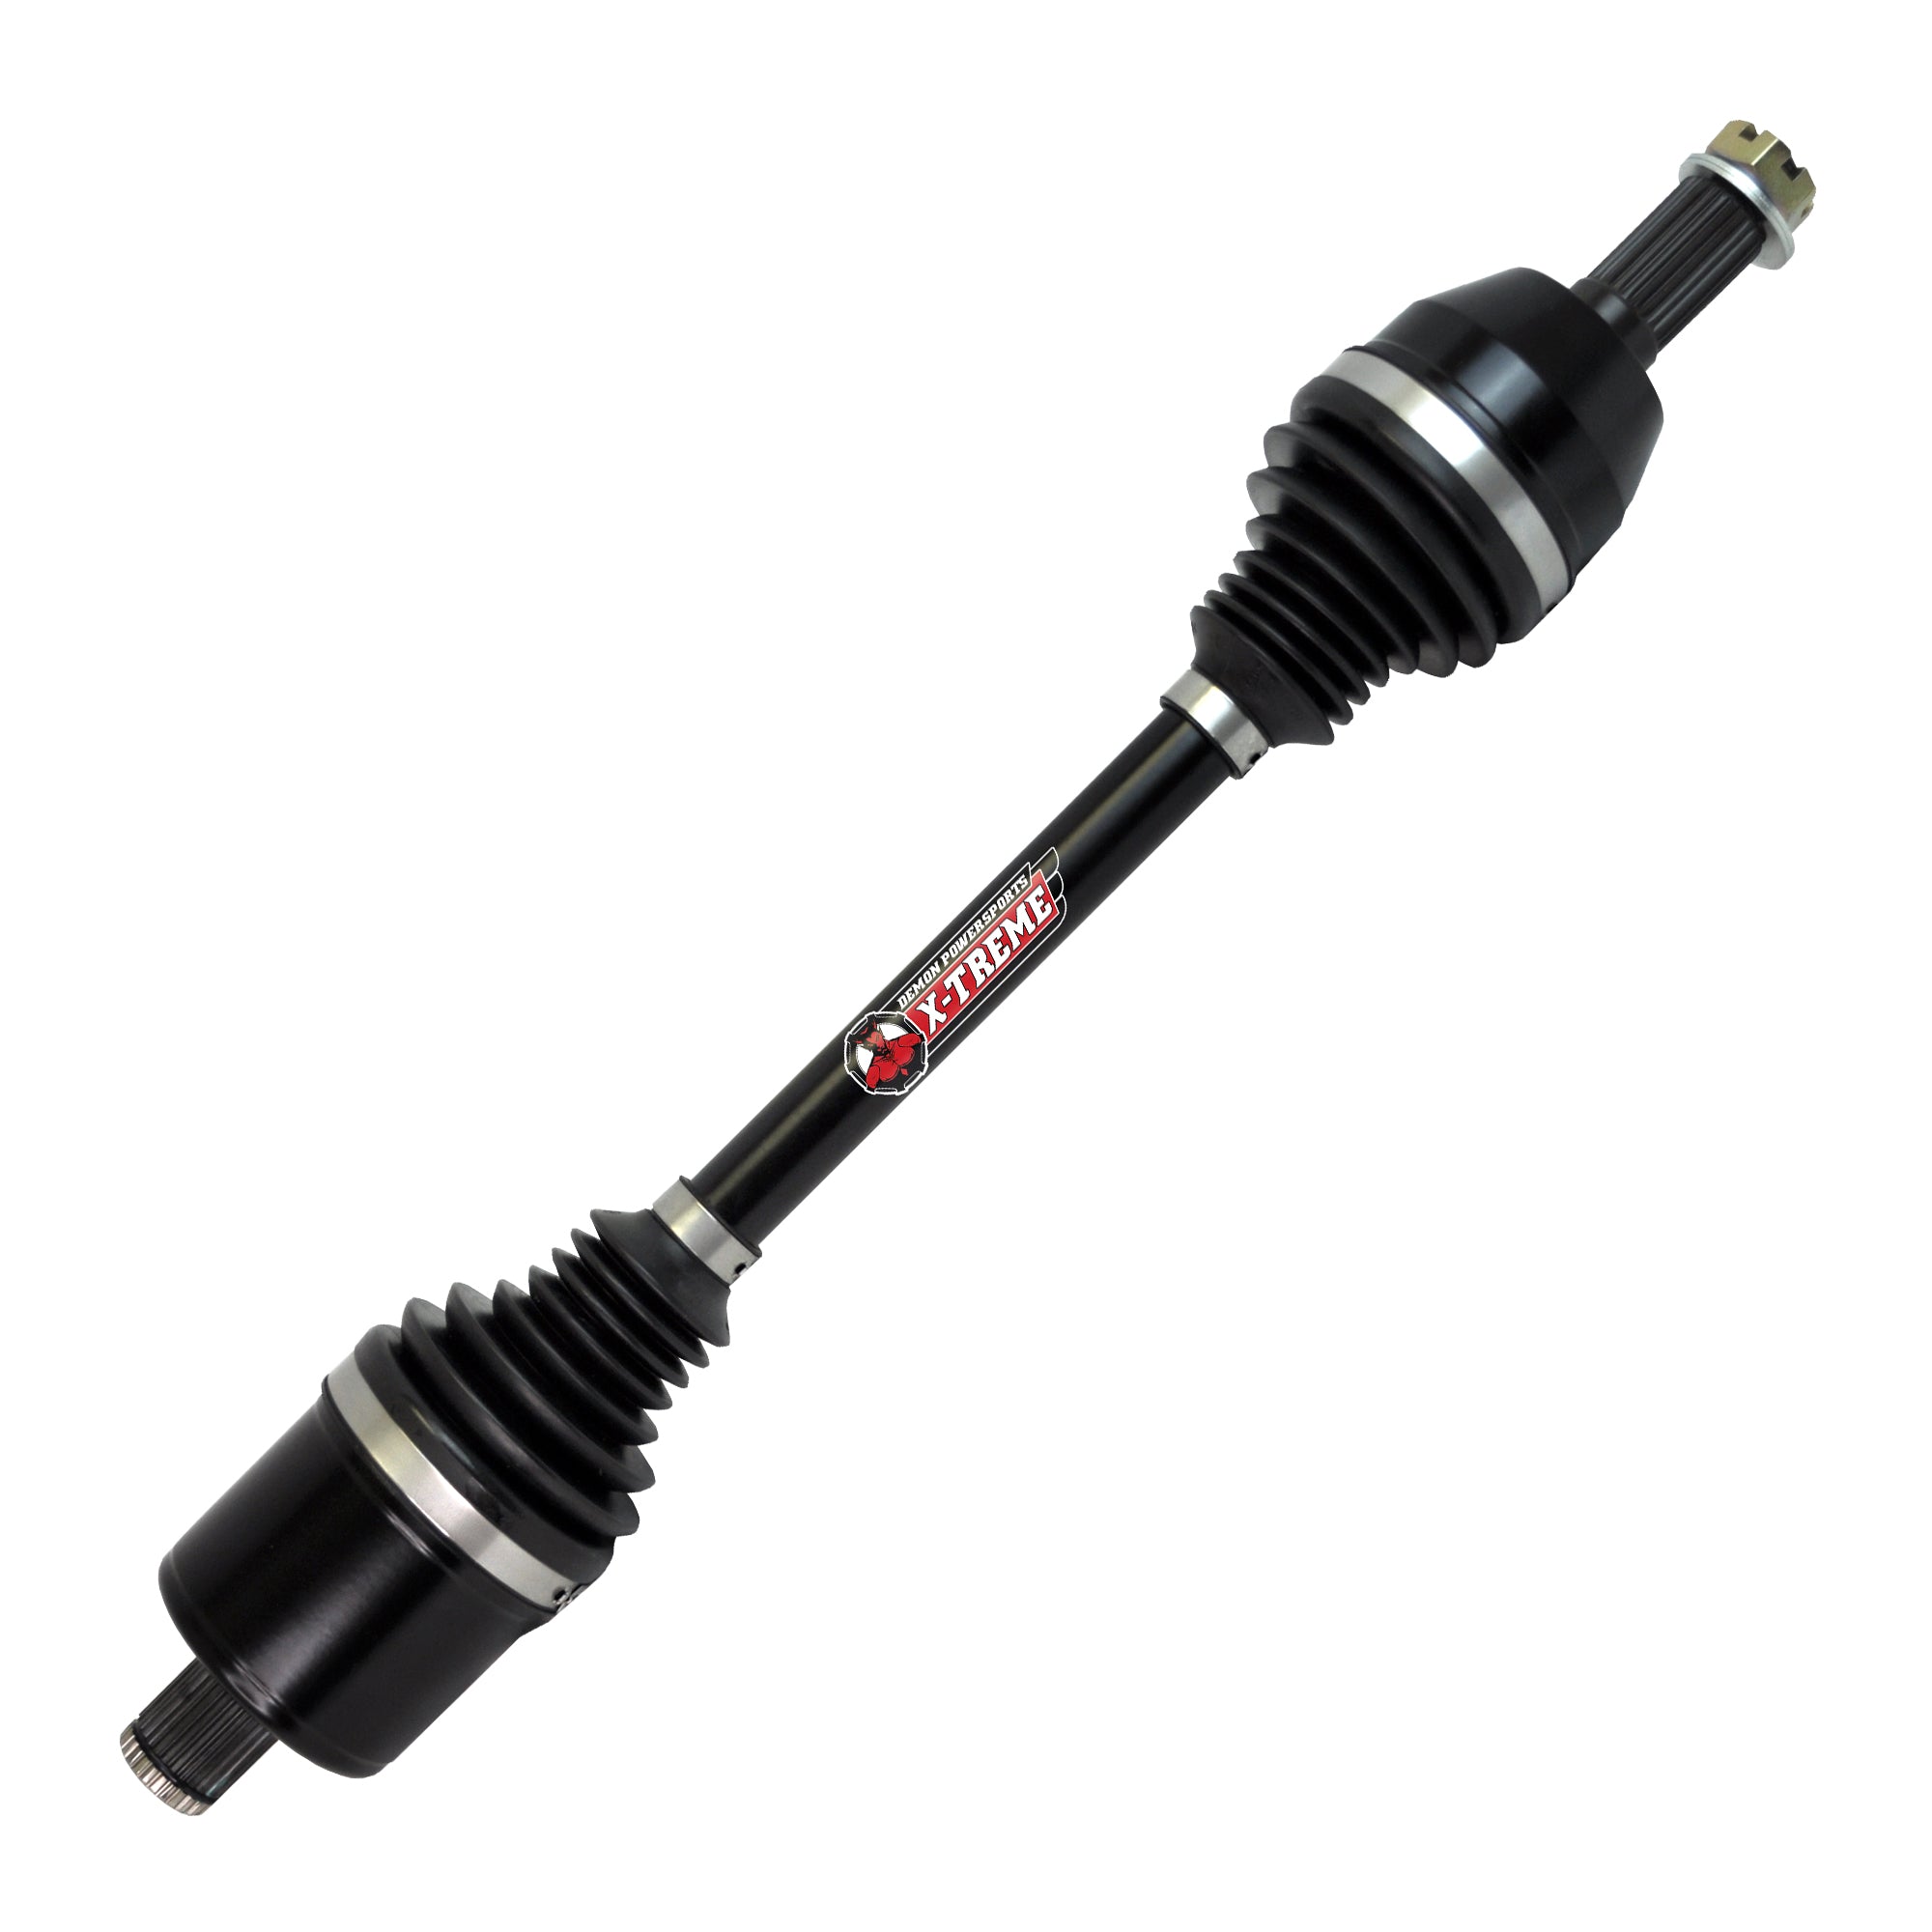
Before reinstalling the wheels, inspect both inner and outer boots carefully. Make sure every clamp is secure, every boot sits naturally, and nothing is rubbing against suspension components throughout the full steering range.
One careful inspection often prevents an expensive repair later.
One reason riders choose an XHD Axle is because the machine has already evolved beyond stock.
Larger tires create more leverage. Better traction transfers more force through the driveline. Locking differentials and aggressive throttle multiply those loads even further.
Every upgrade asks the axle to do more than it did yesterday.
Machines like the Polaris RZR, Can-Am Maverick, Can-Am Defender, Honda Pioneer, Yamaha Wolverine, and Kawasaki Teryx often receive multiple upgrades over time. The axle becomes one piece of a much larger performance package.
Installing the axle correctly also means understanding how every other modification affects it.
A balanced build will always outperform a collection of unrelated upgrades.
One of the biggest misconceptions in off-road riding is believing stronger automatically means better.
That is not always true.
The best axle is the one that matches the machine, not the biggest one available.
An Xtreme Heavy Duty Axle is designed for riders pushing their machines far beyond factory conditions. Deep mud, oversized tires, aggressive trail riding, rock crawling, racing, and heavily modified suspension systems all create the kind of repeated stress these axles are built to handle.
If the rest of the build reflects those conditions, an XHD Axle becomes a logical part of the suspension package.
The goal has never been to install the strongest axle.
The goal is building a driveline where every component supports the way the machine is actually used.
Every rider enjoys the moment when the engine starts, the tires hit the trail, and the machine feels ready for anything.
That confidence is built in the garage long before the first obstacle appears.
Installing an Xtreme Heavy Duty Axle correctly means inspecting surrounding components, confirming proper suspension geometry, protecting the CV boots, and making sure every upgrade works together instead of against one another.
Because the most reliable off-road machines are rarely the ones with the most upgrades.
They are the ones where every upgrade has a purpose, every component is balanced, and every trail begins with confidence instead of uncertainty.
Leave a comment