

Your Suzuki ATV may be ready for the trails, but changing your wheels, tires, or suspension setup can create new fitment challenges. Wider tires and aftermarket wheels can affect the space between the tires, suspension components, and bodywork. If your current setup needs a little more room or you want to adjust your ATV’s stance, a Suzuki Rugged Wheel Spacer may be worth considering.
A wheel spacer is installed between the wheel and hub, moving the wheel outward from its original mounting position. When selected for the correct Suzuki model, it can help create additional tire clearance and give the ATV a wider appearance.
What Does a Suzuki Wheel Spacer Actually Do?
A wheel spacer changes the position of the wheel without replacing the wheel itself. By moving the wheel outward, it increases the distance between the left and right wheels and changes the ATV’s overall stance.
Suzuki riders may consider wheel spacers for several reasons:
-
Additional tire clearance: A correctly selected spacer may create more room for certain wider or larger tire combinations.
-
Aftermarket wheel fitment: It can help accommodate specific wheel and tire setups when the original wheel position does not provide the required clearance.
-
A wider stance: Moving the wheels outward gives the ATV a broader appearance.
-
Modified setups: Riders who have changed their suspension or tire configuration may need to reassess their wheel positioning.
However, a wider stance does not automatically mean better handling. The result depends on the ATV, tire size, wheel offset, spacer thickness, and riding conditions. The goal should be a properly matched setup rather than choosing the thickest spacer available.
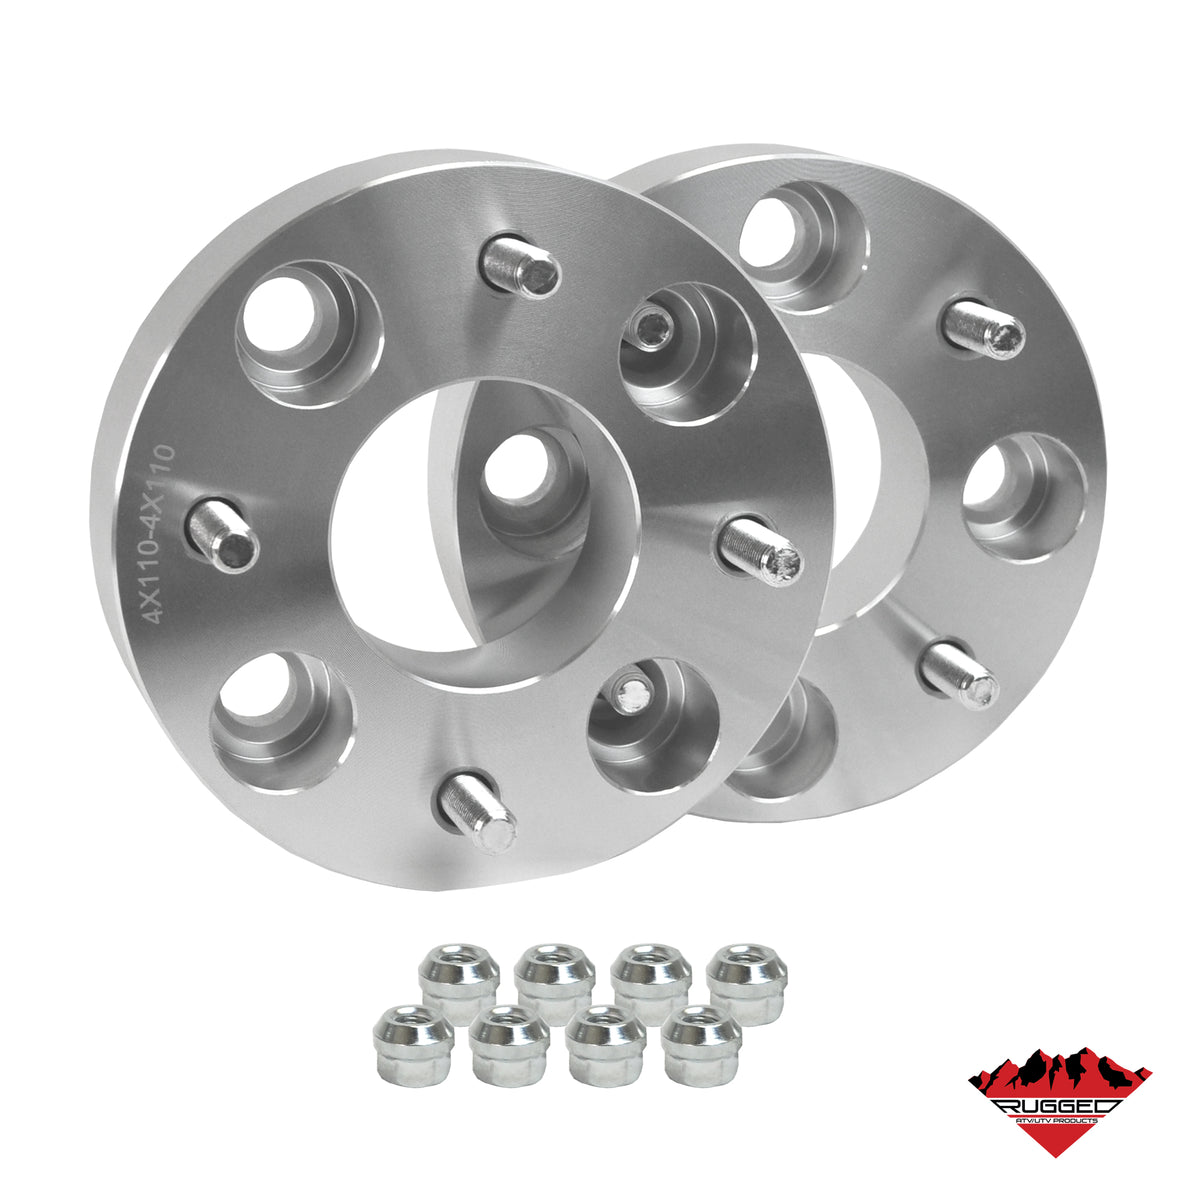
Rugged Wheel Spacers: Built for a Precise Fit
Rugged Wheel Spacers are designed to provide a practical wheel-positioning solution for compatible ATV applications. Their construction focuses on strength, accurate dimensions, and straightforward installation.
Key features include:
-
T6061 aluminum alloy construction for a strong, lightweight spacer.
-
Precision CNC machining for accurate dimensions and consistent fitment.
-
Anodized surface to help resist corrosion and fading.
-
Pressed high-tensile studs designed to work with compatible OEM mounting hardware.
-
Direct bolt-on design for applicable vehicle configurations.
-
Two-piece packaging, as specified in the product listing.
For example, the Suzuki KingQuad 400 Rugged Wheel Spacer listing specifies a 1-inch spacer with a 4 x 110 bolt pattern. The Suzuki Vinson 500 Rugged Wheel Spacer is another model-specific option.
These examples are not universal Suzuki specifications. Always check the individual product listing before choosing a spacer.
How to Choose the Right Wheel Spacer for Your Suzuki
Not every Suzuki ATV uses the same wheel specifications. Even within the same model family, year, trim, and application can affect compatibility.
Before ordering a Suzuki Rugged Wheel Spacer, check these details:
1. Confirm your ATV's model and year
Start with the exact model, model year, and trim. Do not rely on the model name alone when checking compatibility.
2. Verify the bolt pattern
The spacer's bolt pattern must match the ATV hub and wheel requirements. A spacer with the wrong pattern will not provide a correct mounting fit.
3. Choose the appropriate thickness
Spacer thickness affects how far the wheel sits outward. Consider your existing wheel offset, tire width, and available clearance before selecting an option.
4. Check front and rear fitment
Some applications may have different front and rear requirements. Confirm the product's listed position instead of assuming one option fits every location.
5. Consider your complete wheel setup
If you already use aftermarket wheels or larger tires, account for their offset and dimensions. Combining a spacer with an aggressive wheel offset can move the tire farther outward than intended.
Installation and Maintenance Checks
Before installation, inspect the hub mounting surface, studs, and wheel hardware. Make sure the mating surfaces are clean and that the spacer sits correctly against the hub.
Follow the manufacturer's installation instructions and use the specified torque settings. Never guess the required torque or substitute hardware without confirming compatibility.
After installation, check tire clearance with the handlebars turned fully in both directions. If possible, inspect clearance through the suspension's range of movement as well. Look for contact with suspension components, bodywork, or fenders.
After your first ride, inspect the mounting hardware again according to the manufacturer's recommendations. Regular checks are especially important if you frequently ride rough trails, rocky terrain, or uneven ground.


